Automate your Shopify store's order notifications with powerful rule based actions. Create notification rules based on customer country, SKU, order value, product tag, vendor name and more all within the Shopify admin. Get Started with our FREE 7 Day Trial.
Last Updated: Monday, 20th April 2020
We're here to help. Please feel free to get in touch via our contact form or email us directly help@smartordernotifications.com.
Smart Notifications allows you to create detailed rules using order and line item filters. These rules determine when a notification is sent, to whom it sent and how it is sent. Let's create your first smart order notification:
Open the Smart Notifications app and click the Add notification button.
You'll now be presented with the Add notification screen, which is broken into three distinct sections: Notification, Filters, and Output. Let's deal with these sections in turn.
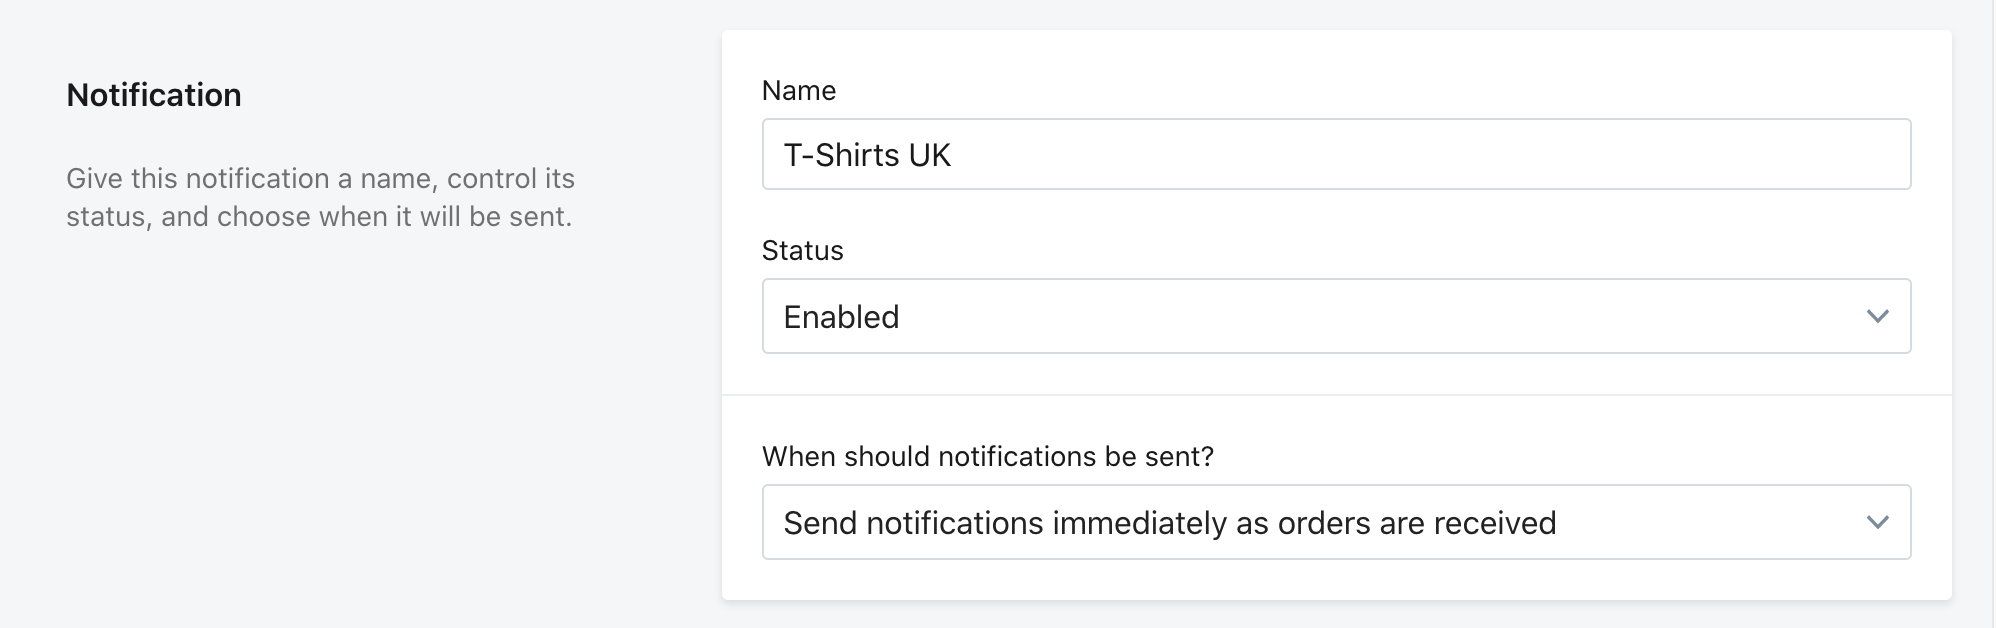
The Notification section is where you define a meaningful name, set the status and choose when you want to send your notification.
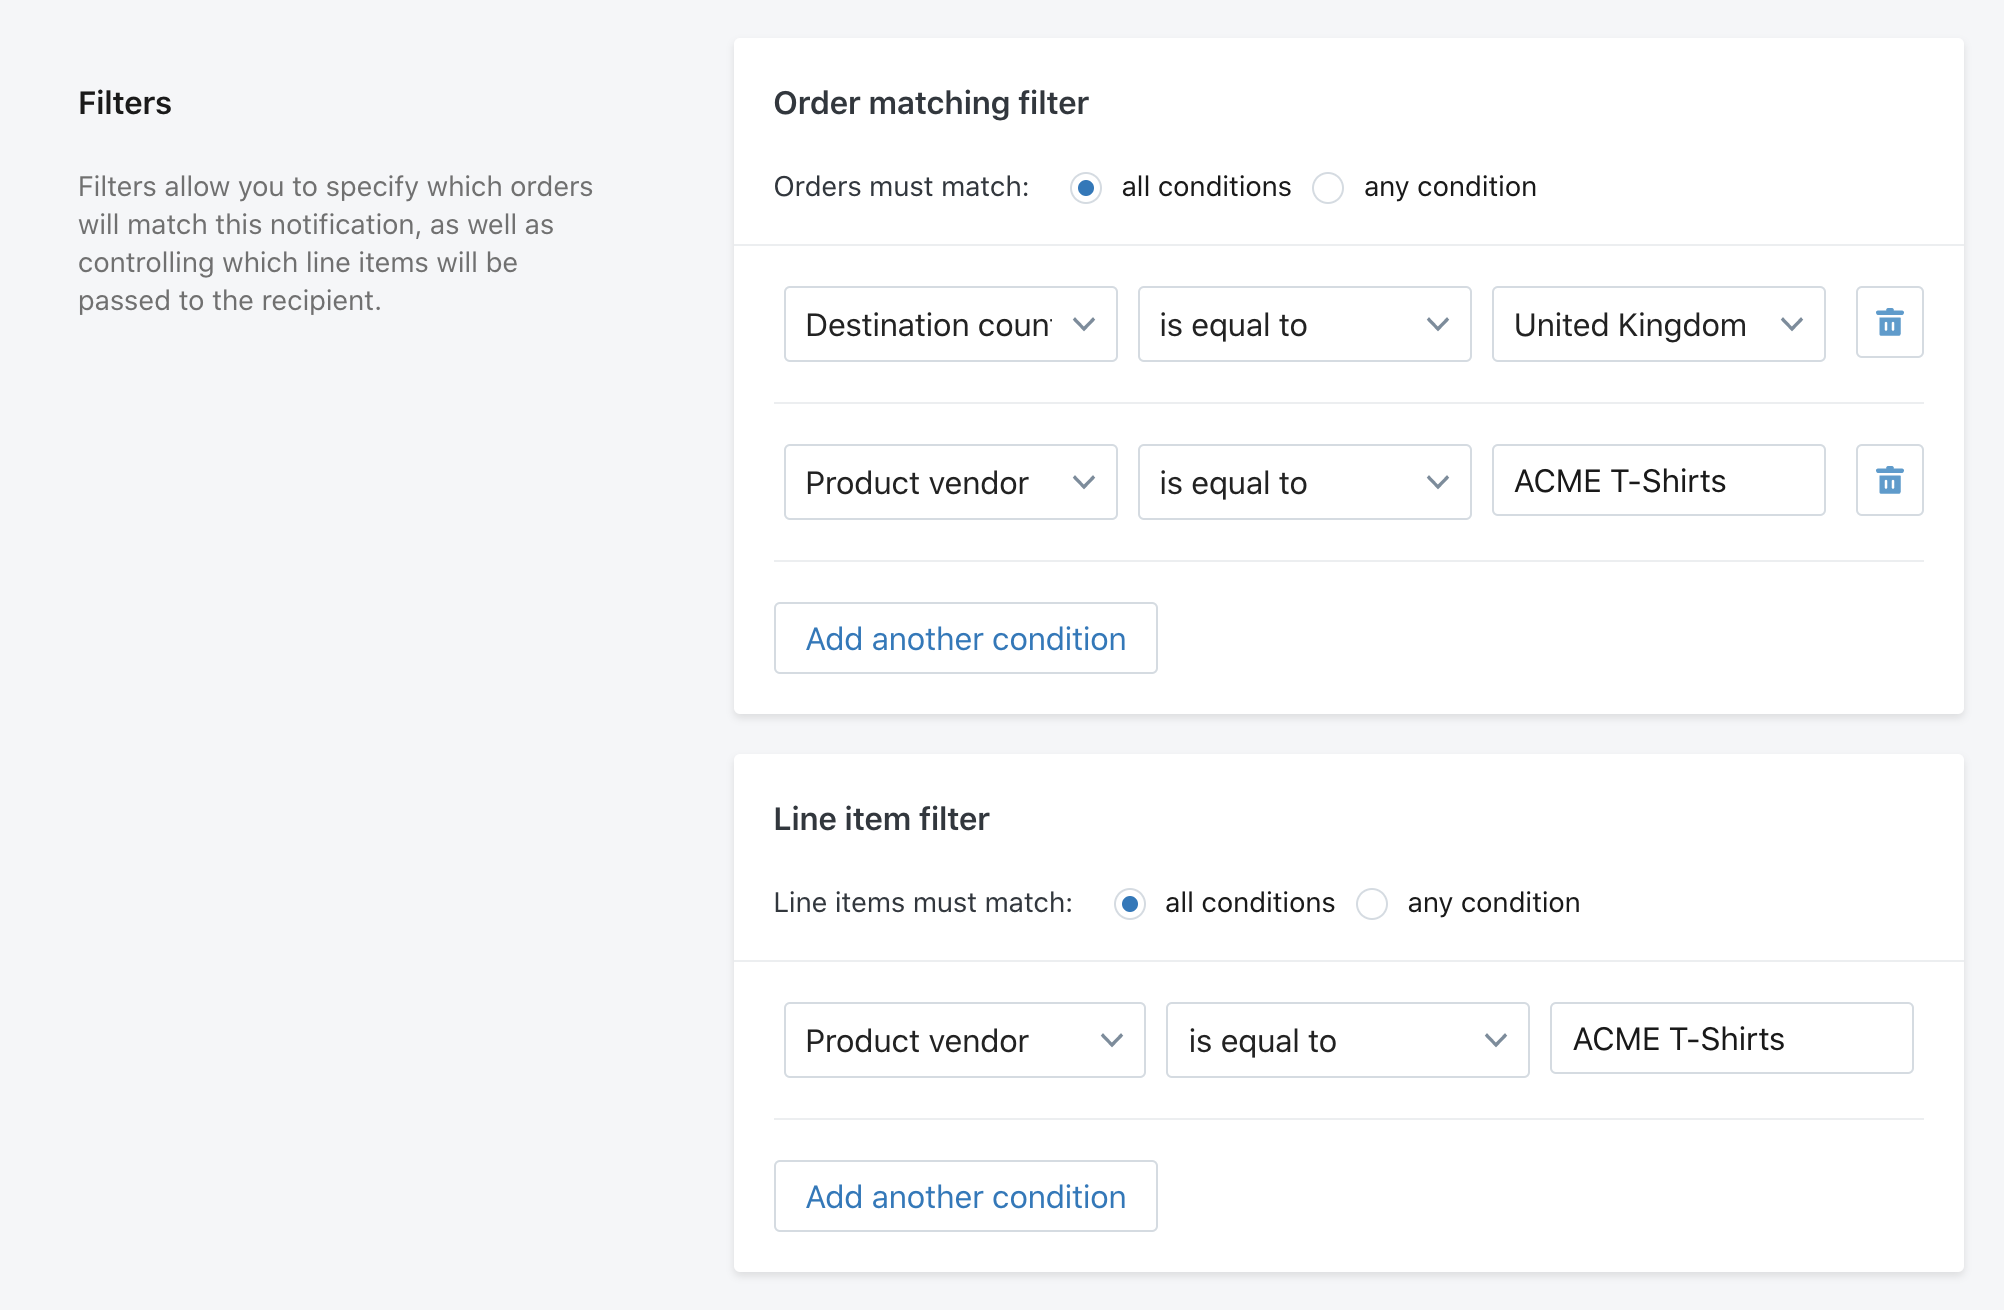
The Filters section is where you setup your order matching filter and your line item filters. Order matching filters set rules about which orders should trigger notifications. In the example below we've opted to match the Destination Country and Product Vendor, allowing us to match only orders with a country of United Kingdom and containing products with a vendor of ACME T-Shirts.
Meanwhile, the line item filters allow you to specify which line items in the matching order should be sent in the notification. In our example we only want line items with a vendor of ACME T-Shirts to be sent.
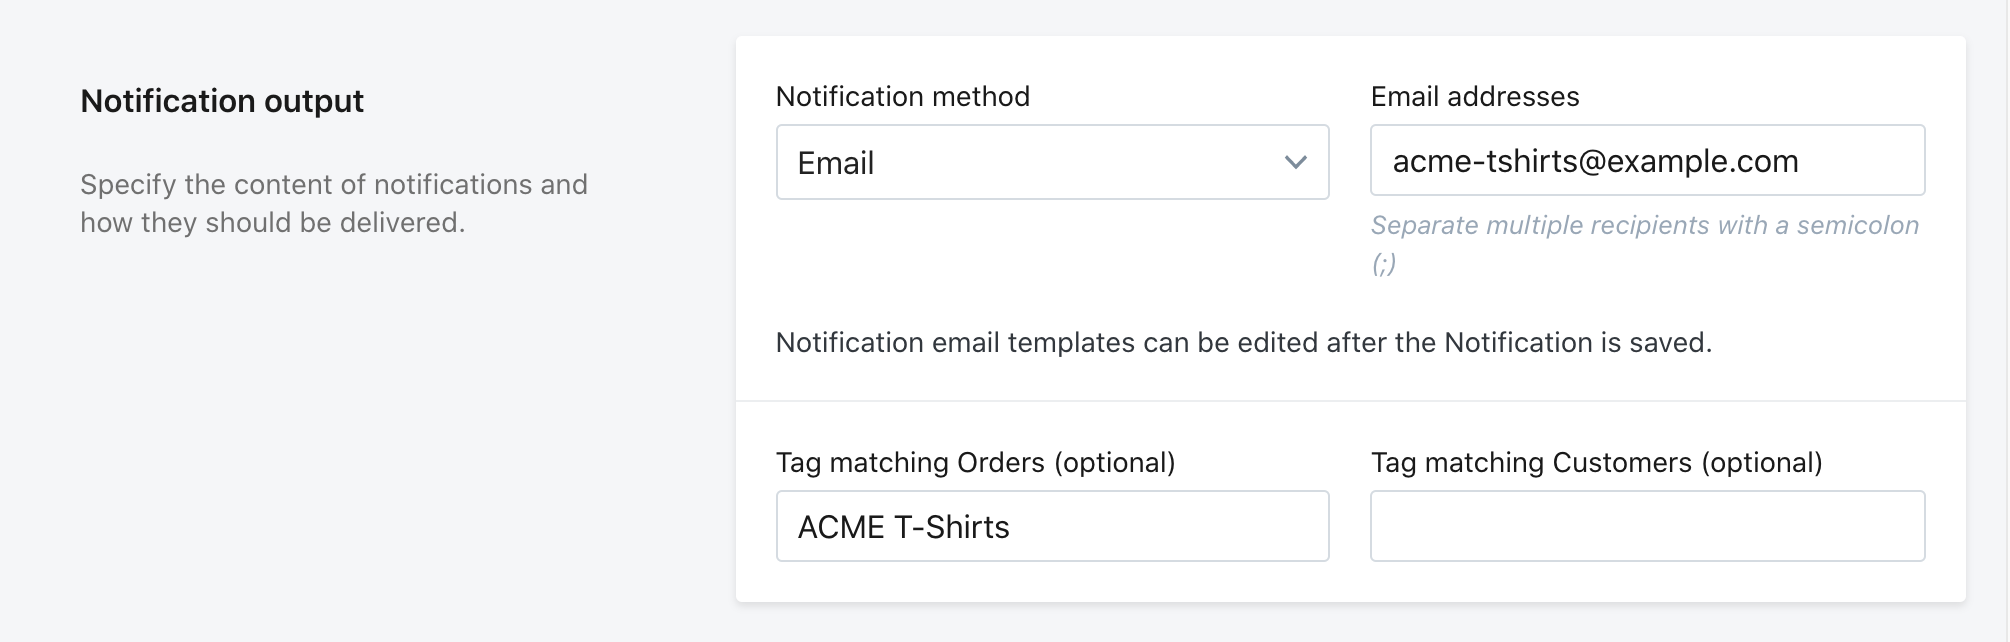
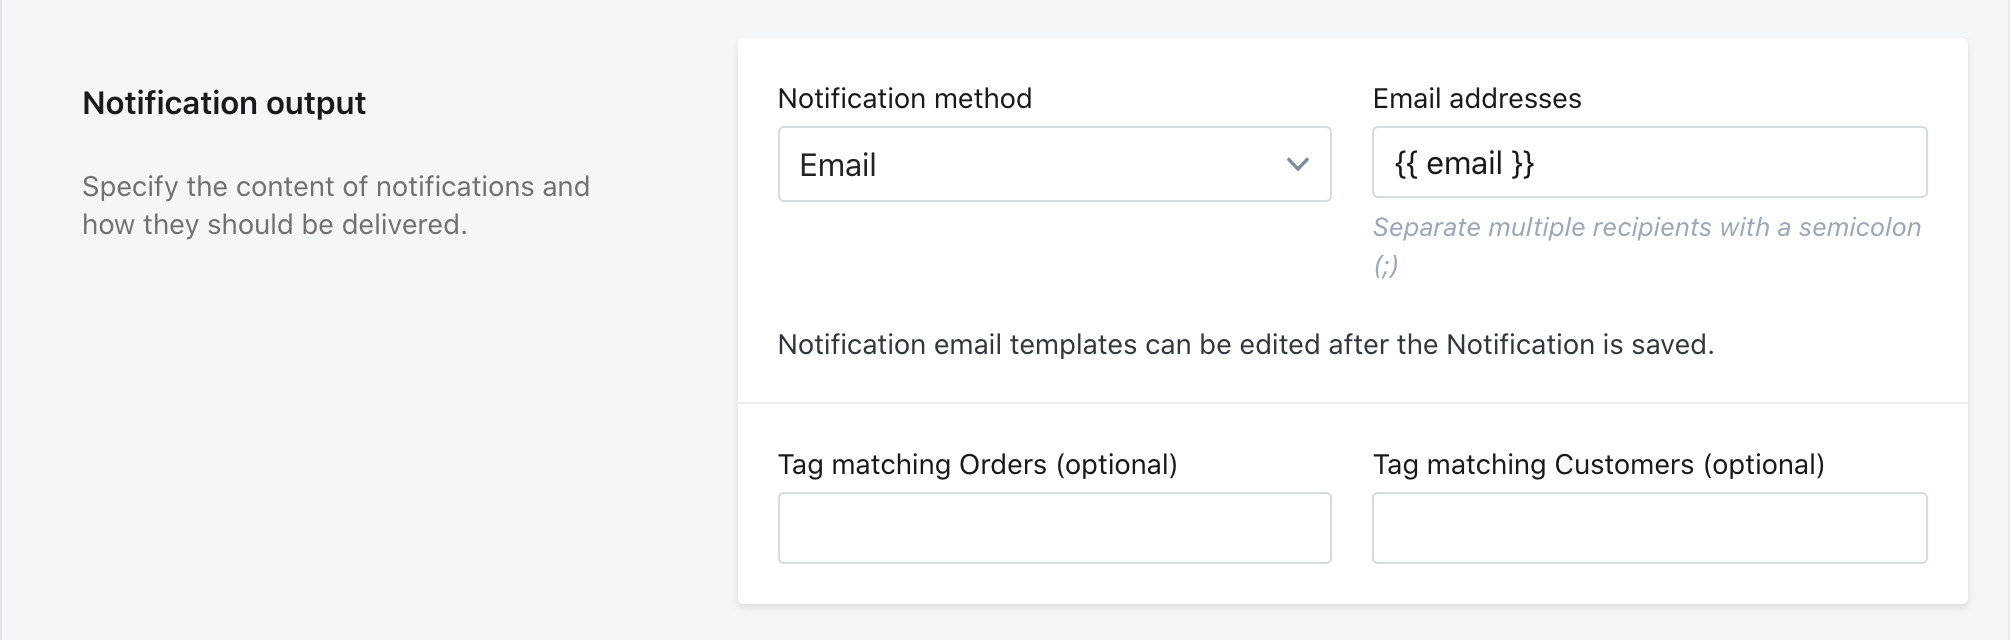
Finally, in the Notification output section you can opt for how your notification should be sent, where it should be sent, and any tags that should be applied to the original order or customer. You can send customer emails by using Liquid in the Email addresses field, for example: {{ email }} would send it to the email associated with the order.
Note: email and attachment templates do not become available to edit until you've saved your notification.
Once you're happy, clicking Save notification at the bottom, or top, of this screen will refresh the page and give you access to edit your templates, if appropriate to the notification method you've chosen.
Now, all you need to do is setup your templates. See the section below for more details.
When creating an Email or Email with attachment notification you will be presented with buttons to edit your templates:
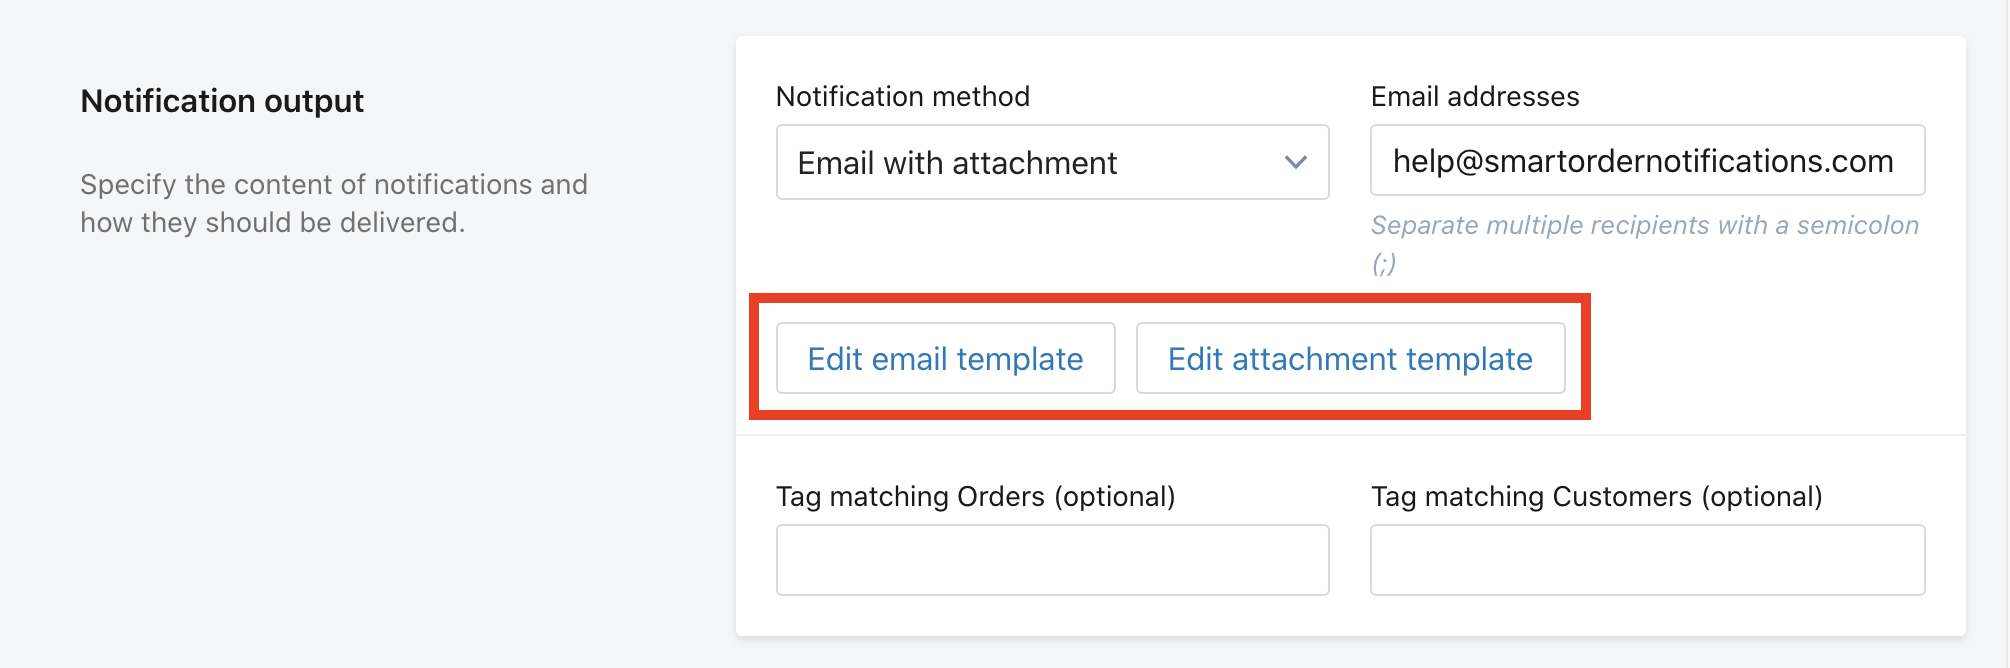
These templates behave exactly like your Shopify notification templates. You can use Liquid syntax to output the desired order data for both the body of an email or an attachment, for example a CSV.
A very simple template to output order name, email and line items could look like this:
If you're not familiar with Liquid, we urge you to learn more by reading the Shopify notification templates docs and if you have any questions or need help do not hesitate to reach out to us directly or speak to your Shopify agency partner.
Once you've set up your notification, it's important to test it's working as you expect. The easiest way to do this is normally using Shopify Draft Orders. This method will not work if you are matching orders based on Order source (e.g. Online Store, Point of Sale etc.). In which case, you'll need to test using those methods directly. Here's the simplest way to test and if you get stuck, don't hesitate to drop us an email.
Go to Orders in the Shopify admin and then choose Drafts from the sub-menu.
Click the Create order button and you'll be presented with a screen that allows you to build an order directly in the Shopify admin.
Next you'll need to build an order that matches your notification filters, this means you'll need to select products, customers, tags etc. that match your criteria.
Once you've built your order, hit the Mark as paid button.
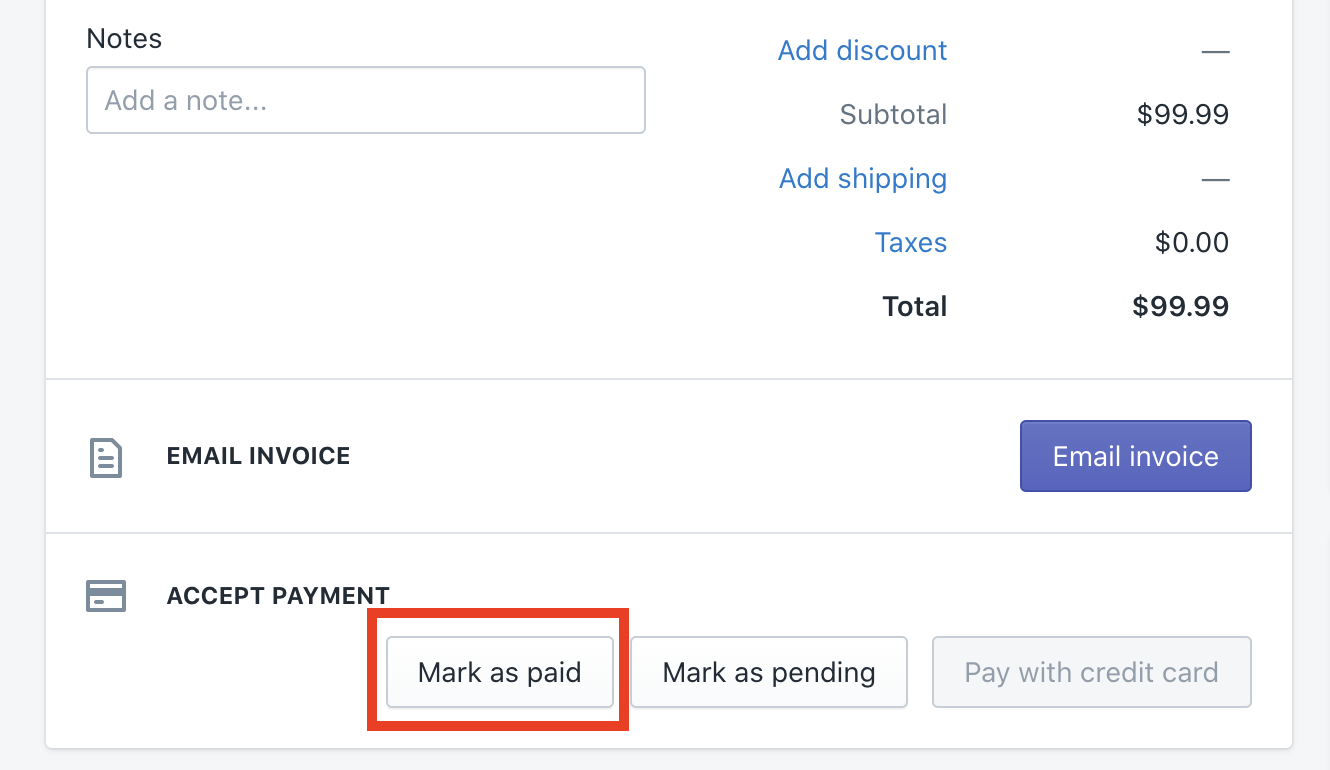
Click to confirm the order creation and then head back to the Smart Notifications app, and select the Sent notifications button in the top left.
There you will see a table of notifications, their type, where they were sent, the order the app matched and if they were successful or not. The View content link shows what was sent in the notification.

A common use case for Smart Notifications is to send additional notifications to customers who order specific products. For example, an email containing a getting started video or a link to a knowledge base. Here's how to set that up:
Email or Email with attachment, whichever you need.Then in the Email addresses field enter {{ email }}, this Liquid drop will ensure the email is sent to the email address listed on the order.
It's simple to audit what notifications Smart Notifications has sent and whether they were successful or not.
Open the Smart Notifications app.
Click on the Sent notifications button in the top left.
You'll be presented with a table of sent notifications, where they were sent, at what time and which order they relate to.
The View content button shows you the content of the notification that was sent.
Webhooks are a really powerful feature of the Smart Notifications app. Shopify doesn't allow you to natively filter what does / doesn't appear in the webhook payload.
Often 3PLs, dropshipping partners, and distribution centres have order management systems which are designed to receive webhooks as the method of notification. However, Shopify merchants sometimes have different partners shipping different products in different regions. Using line item filters, and our webhook feature, you can send only the salient line items in the webhook payload.
Smart Notifications will simply pass on the standard Shopify orders/create webhook to the Webhook URL you specify, but will filter the line_items array, only including the line items which match your line item filters.
Smart Notifications is owned and operated by two former Shopify employees with extensive platform experience having worked in the Partner, Platform and Plus teams. If you reach out via email, Keir or Kieran will respond personally to your request. We'll do everything we can to help you get up and running, and start saving your business time and money, so please don't hesitate to get in touch via email.